Devon Great Consols Circular Walk

Easy

Short walk: 2½ miles (4km); long walk: 5¼ miles (8.4km)

Short walk: 1½ hours; long walk: 2½ hours

Devon and Great Consols
Embark on a captivating journey through Blanchdown Wood, situated on the eastern side of the Tamar Valley and discover the remarkable and extensive remains of Devon Great Consols. Walk along pleasant paths and tracks, immersing yourself in the natural beauty of the surroundings as you uncover the fascinating history of this area.

SUMMARY

Embark on a captivating circular walk, delving into the rich mining history of Devon Great Consols, once the largest copper supplier in Europe. Discover the legacy of this historic site, which saw its peak in the mid-19th century when a massive 3-mile (4.8km) copper lode, the largest in the southwest, was unearthed. These steep slopes near Gunnislake were once bustling with intense mining activity, sprawling across a vast area of over 140 acres. As copper prices declined, the focus shifted to producing significant quantities of arsenic. The sheer magnitude of stored arsenic at Morwellham Quay was reputed to be capable of poisoning the entire world. However, by 1901, the mine succumbed to bankruptcy, although arsenic production experienced a brief resurgence from 1915 to the 1920s. Today, the area is home to an intricate network of signed multi-use trails and unsigned paths, providing a fascinating glimpse into the industrial past. Explore this intriguing landscape and immerse yourself in the stories and remnants of a bygone era.

KEY FACTS

Start/Finish

Tamar Trails Centre car park, Bedford Sawmills SX 438728, PL19 8JE

Distance

Short walk: 2½ miles (4km); long walk: 5¼ miles (8.4km)

Time

Short walk: 1½ hours; long walk: 2½ hours

Terrain

Easy tracks and paths; steady climb towards end of long walk

Difficulty Rating

Easy

Toilets

Tamar Trails Centre (when open)

Parking

Tamar Trails Centre car park (pay & display)

Public Transport

None available

Dogs

Under control at all times

Directions

1 SX 438728

At the opposite end of the car park, follow a wide path that leads into the woods, disregarding an earlier footpath to the right. As you stroll beneath the trees, keep an eye out for the remnants of shallow mine workings, a testament to the area’s mining history. Upon reaching the next junction, make a right turn onto a narrow path. Continue on this path, then make another right turn, gently ascending as you pass tree-covered spoil heaps. Eventually, you’ll arrive at a crossing track.

2 SX 439730

Turn left and walk along the remnants of an old mineral railway trackbed. This historic trackbed, built in 1858, was used to transport copper ore from Devon Great Consols (DGC) to Morwellham Quay, situated 4½ miles (7.2km) away on the banks of the River Tamar. As you progress, you’ll be treated to amazing views across the valley, Hingston Down and Kit Hill. Closer to your path, you’ll encounter the extensive red-brown spoil heaps that stand as a reminder of the mining activities at DGC.

3 SX 437724

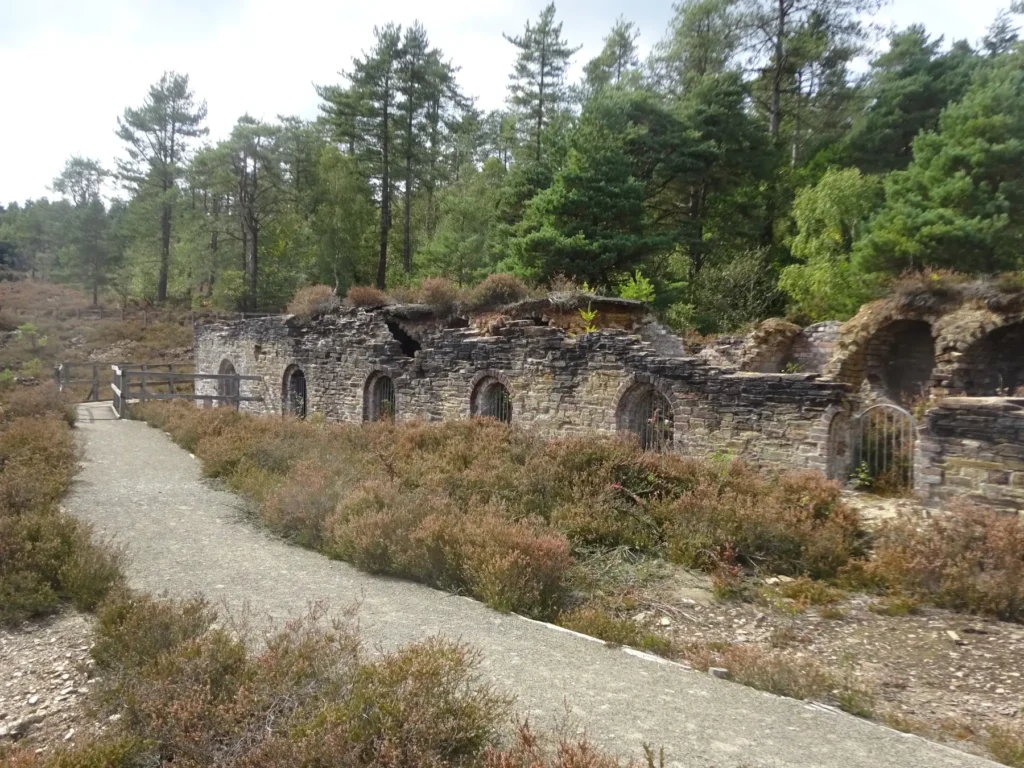
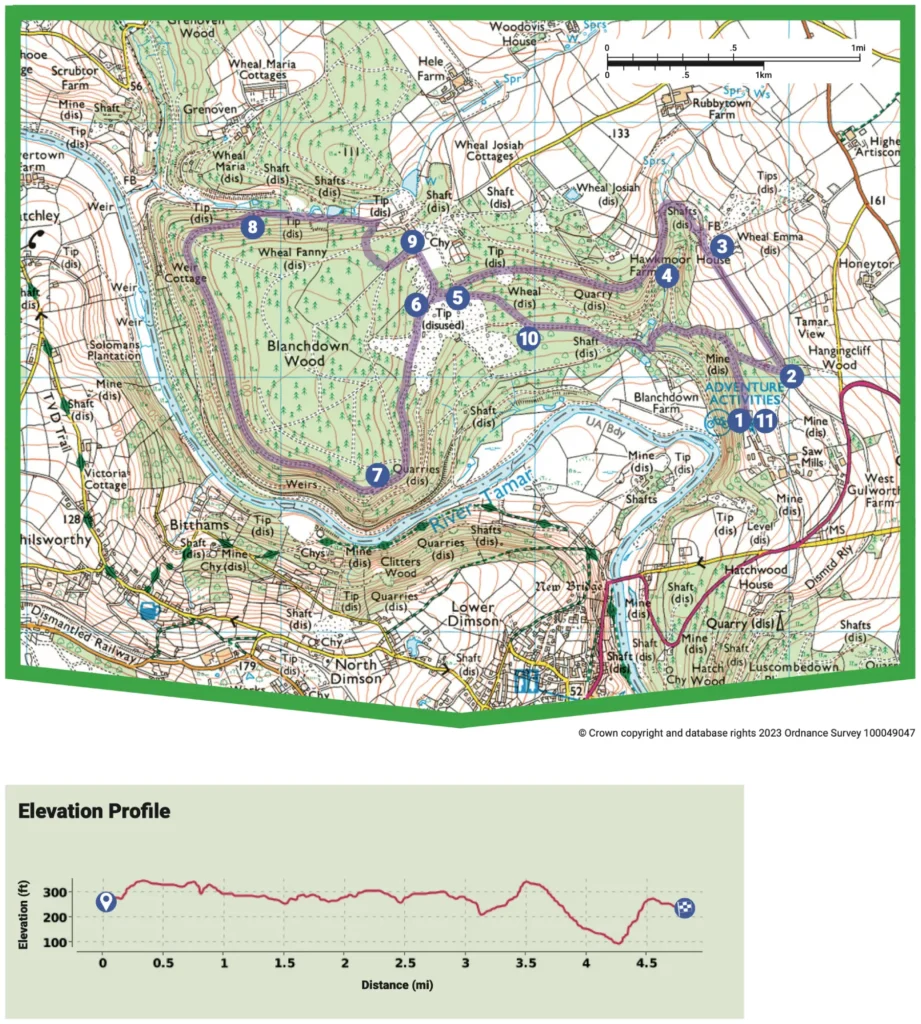
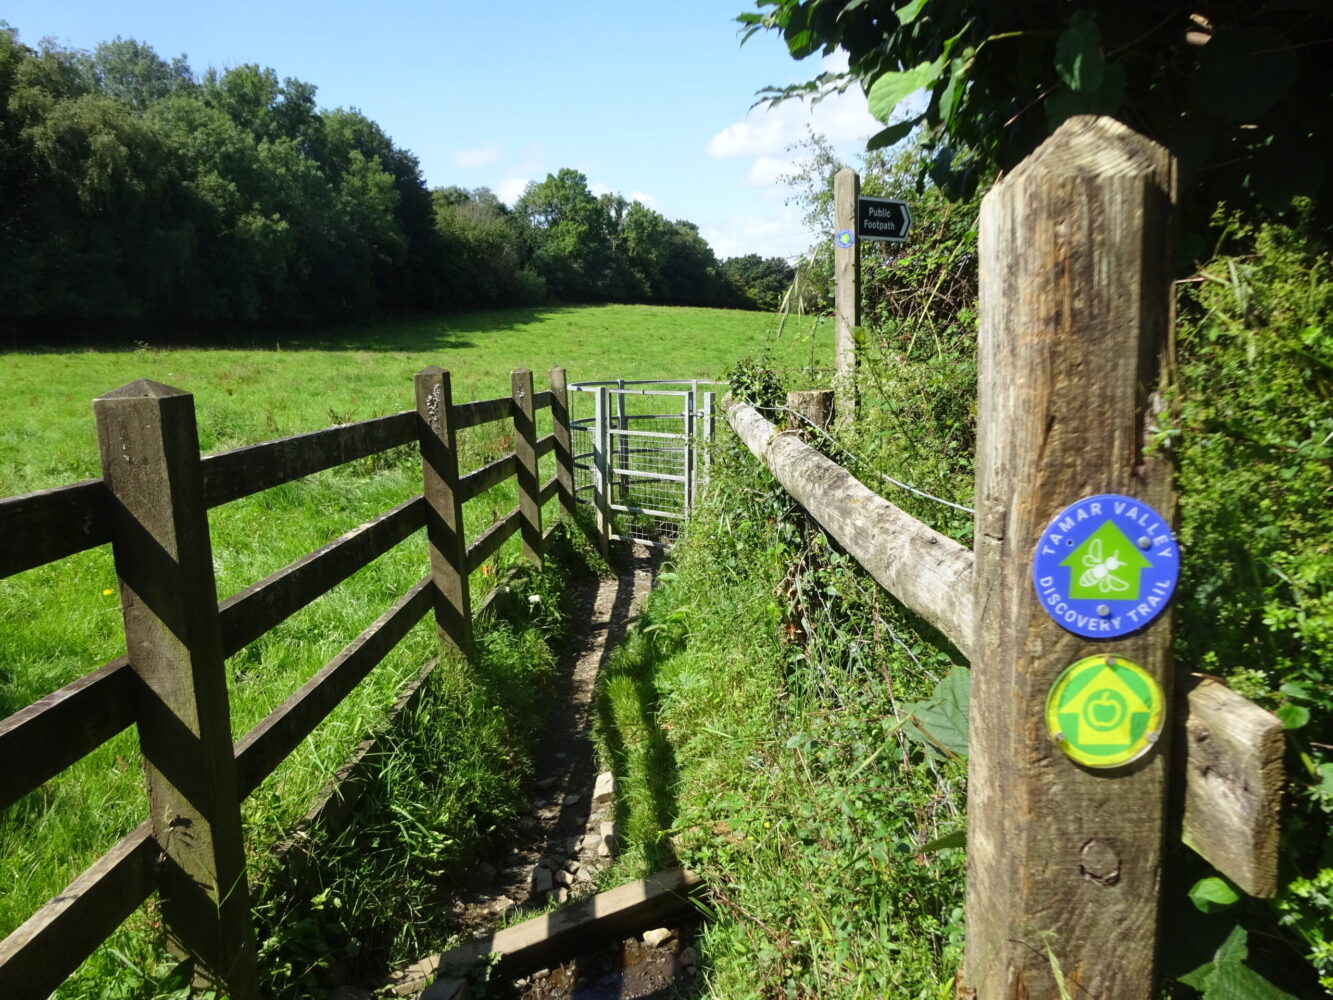
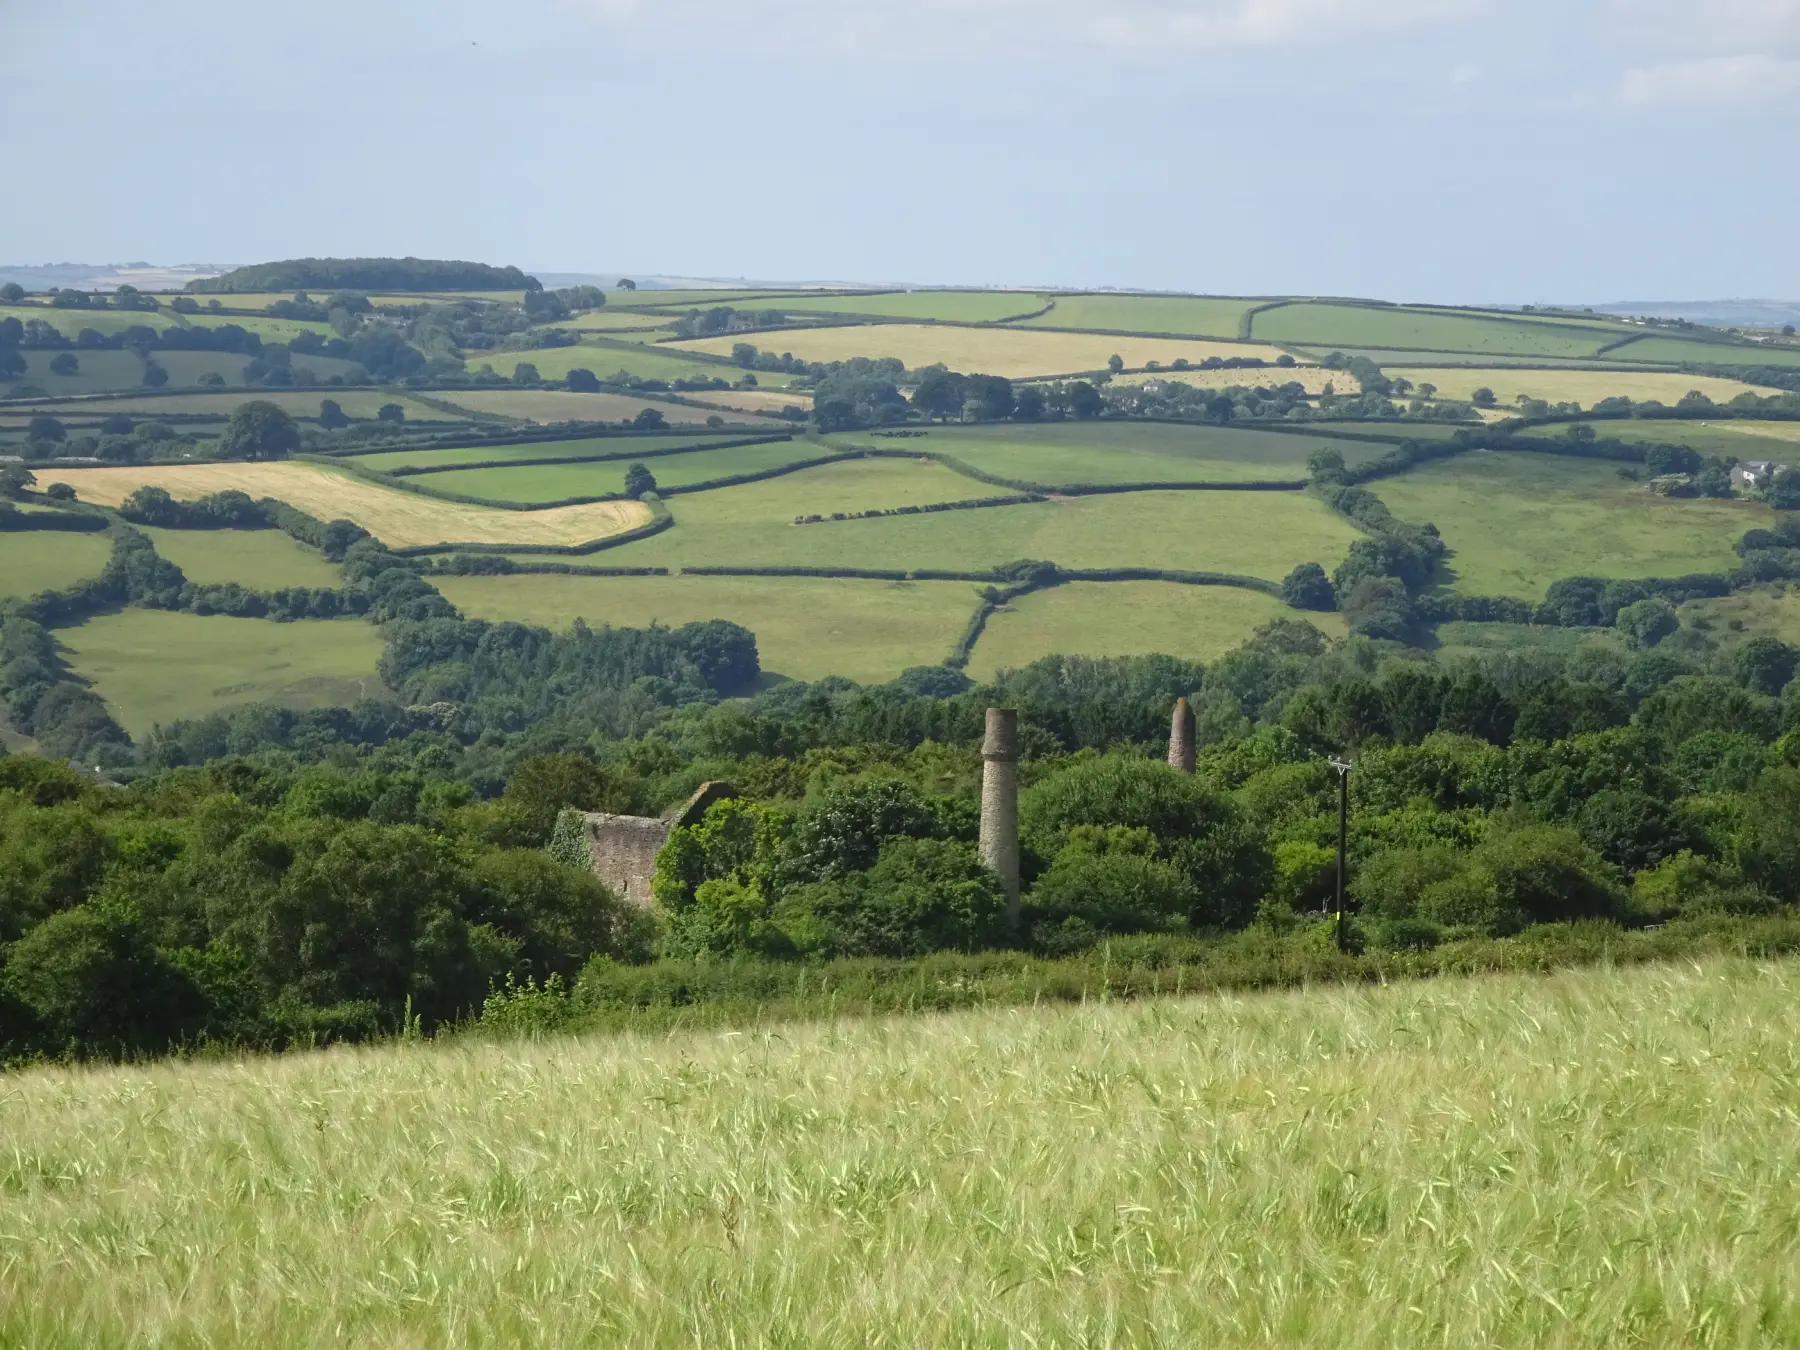
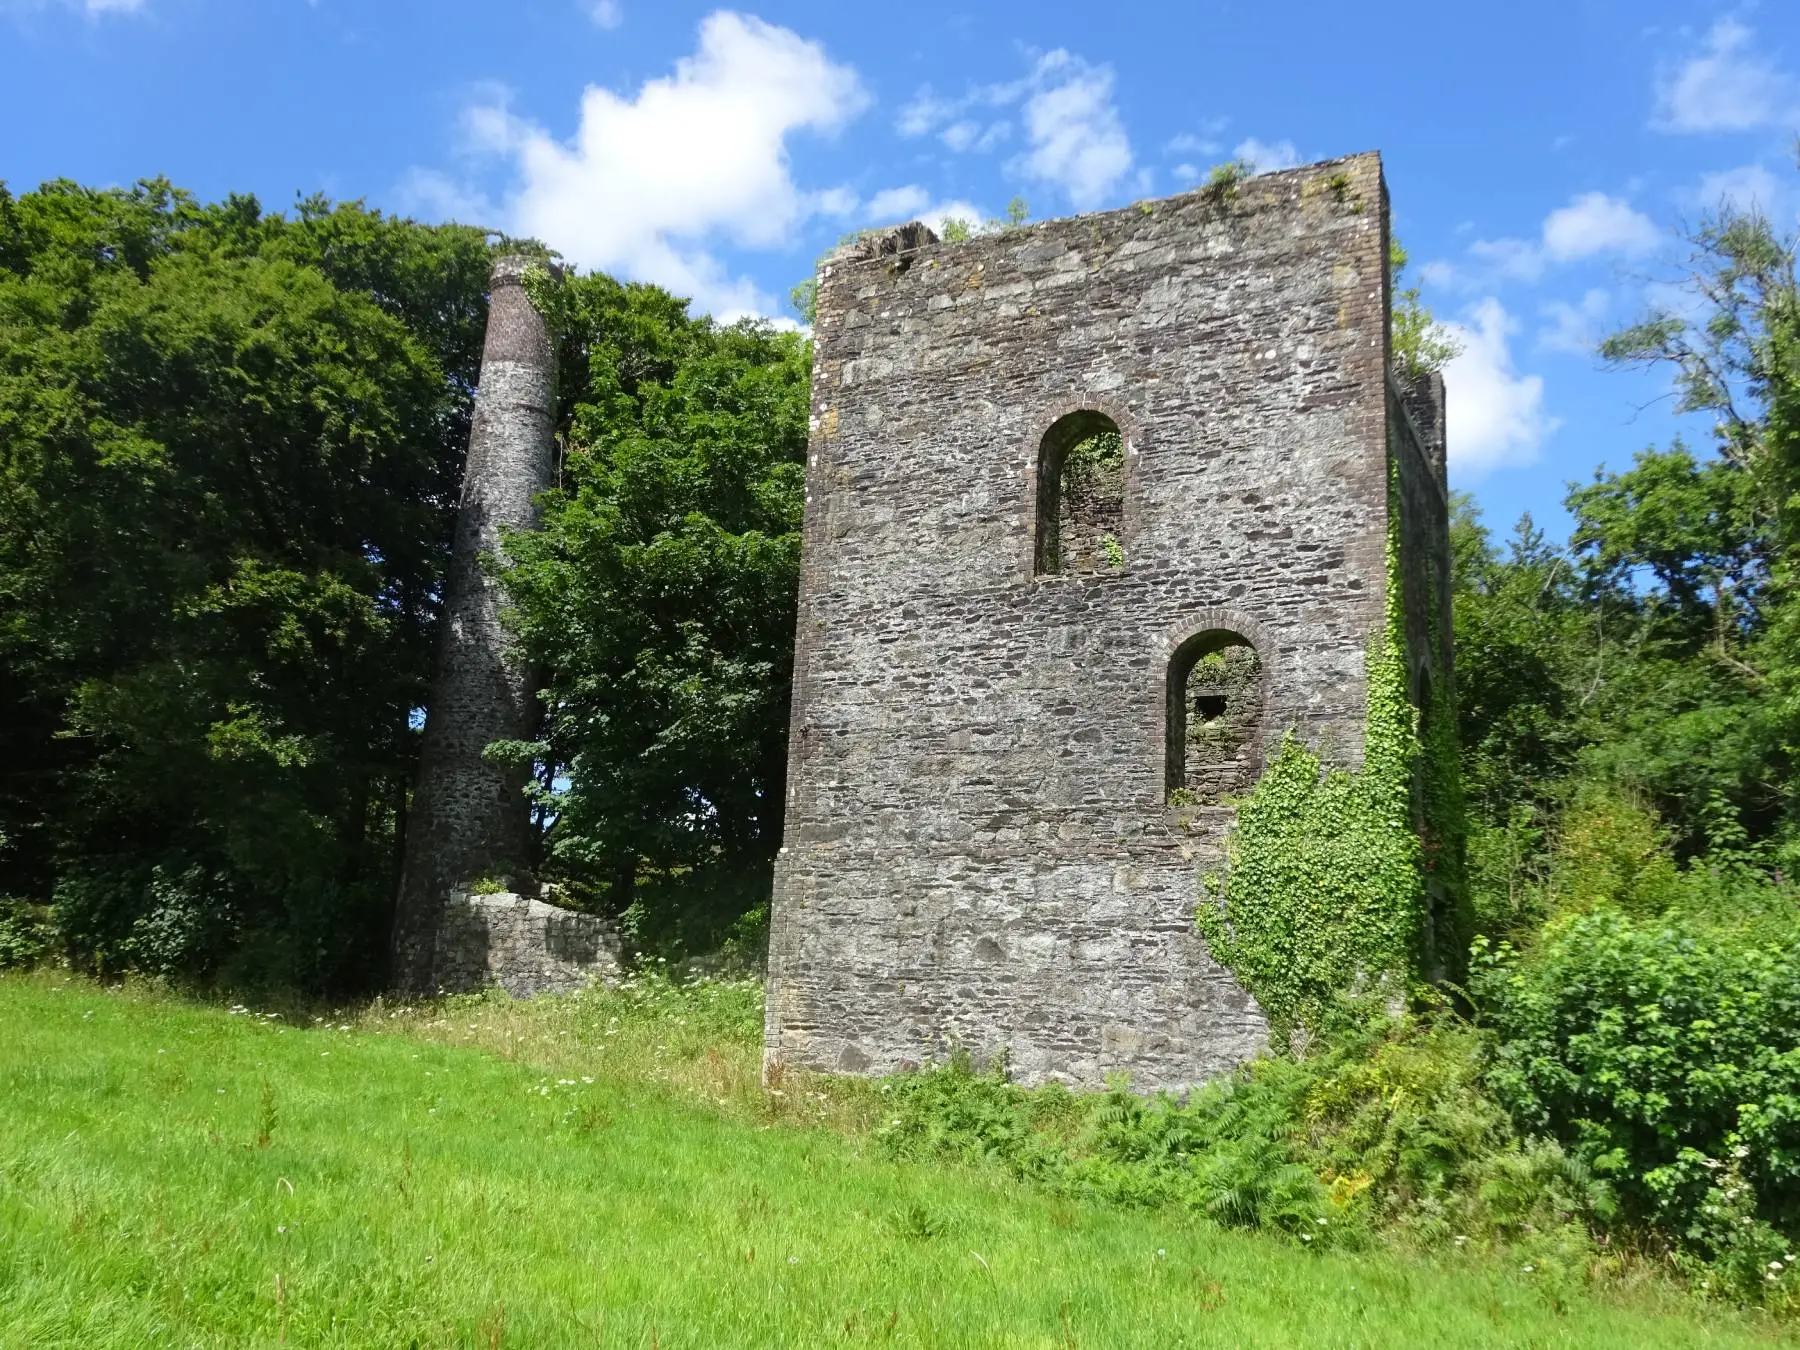
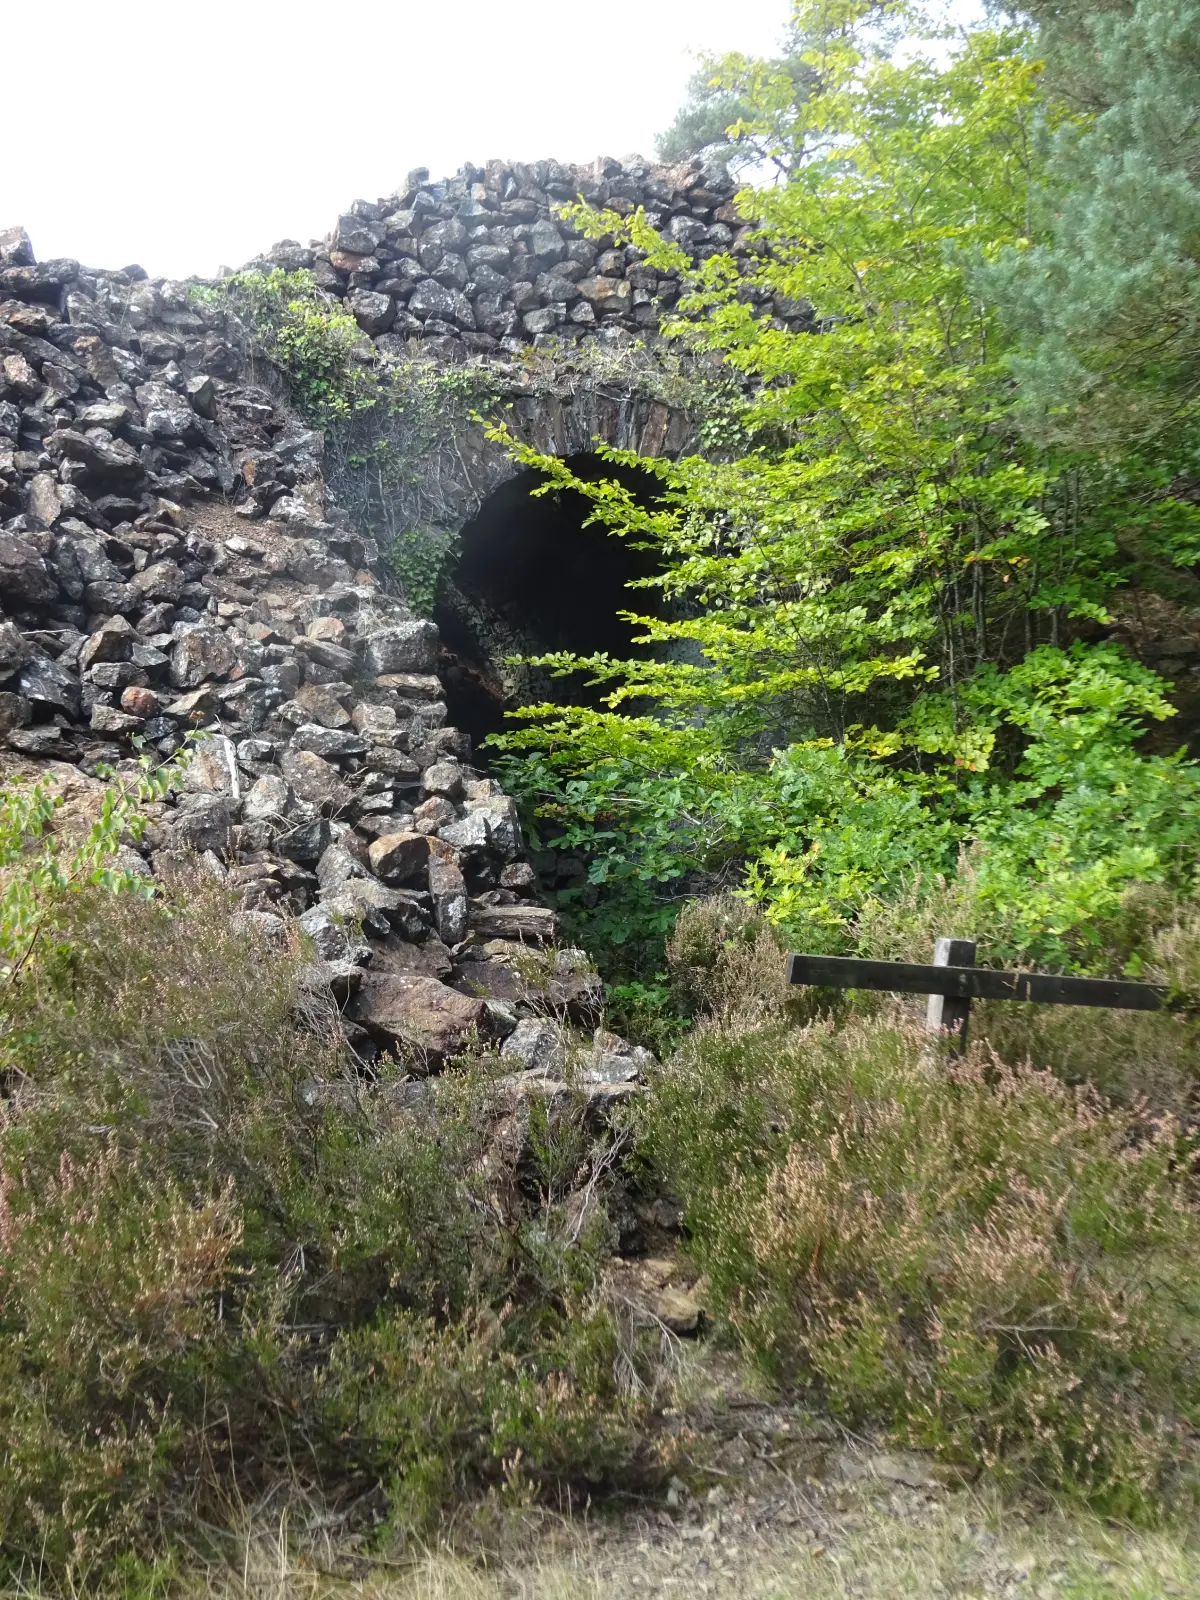
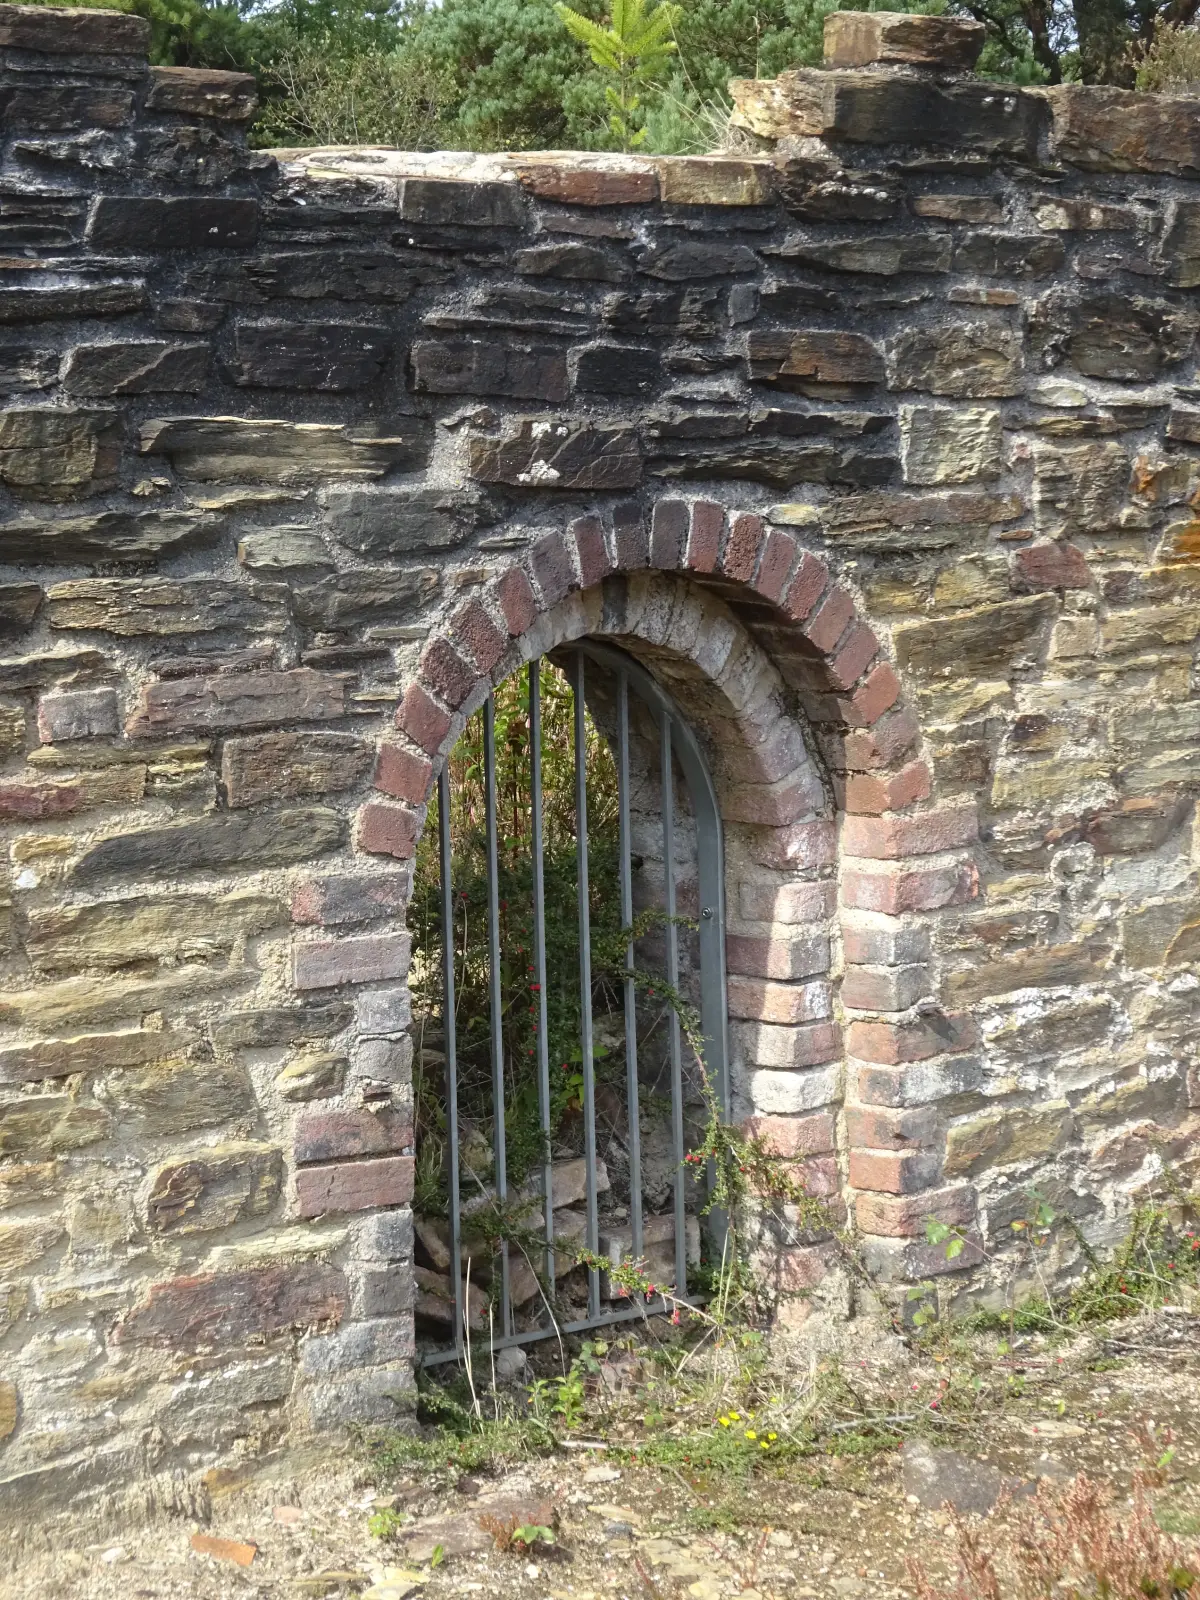
Arriving at a fork in the path, you’ll notice a gate straight ahead, leading to the Wheal Emma incline—an important part of Devon Great Consols (DGC), as it served as the easternmost mine and commenced operations in 1848. Instead, take the left path, which is the main trackbed. After a short distance, make a sharp left turn (the bridge ahead, now covered in vegetation, once spanned the railway line), and then turn right. 
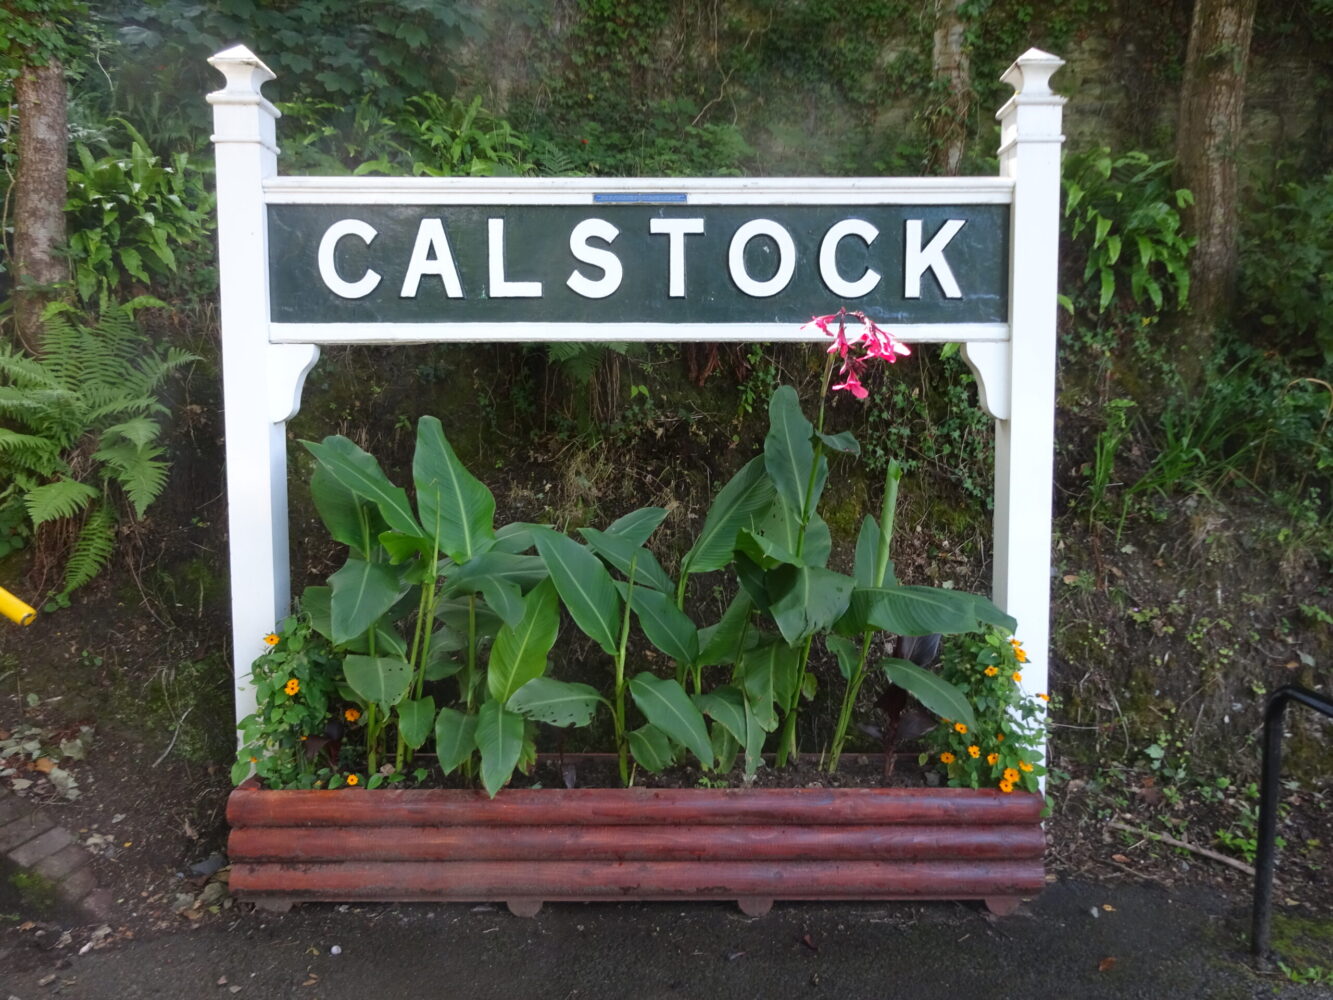
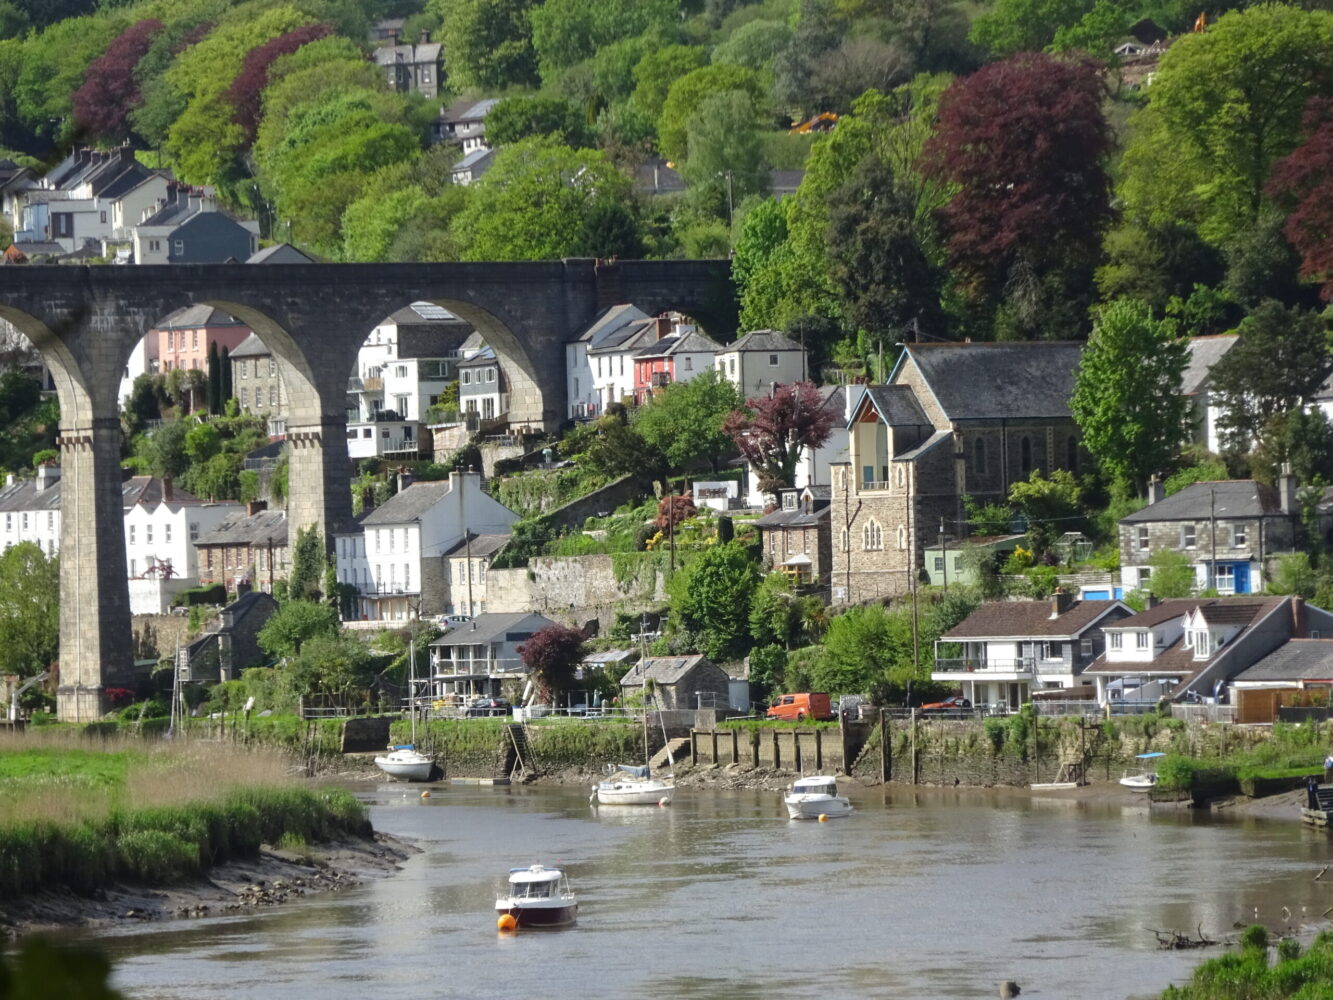
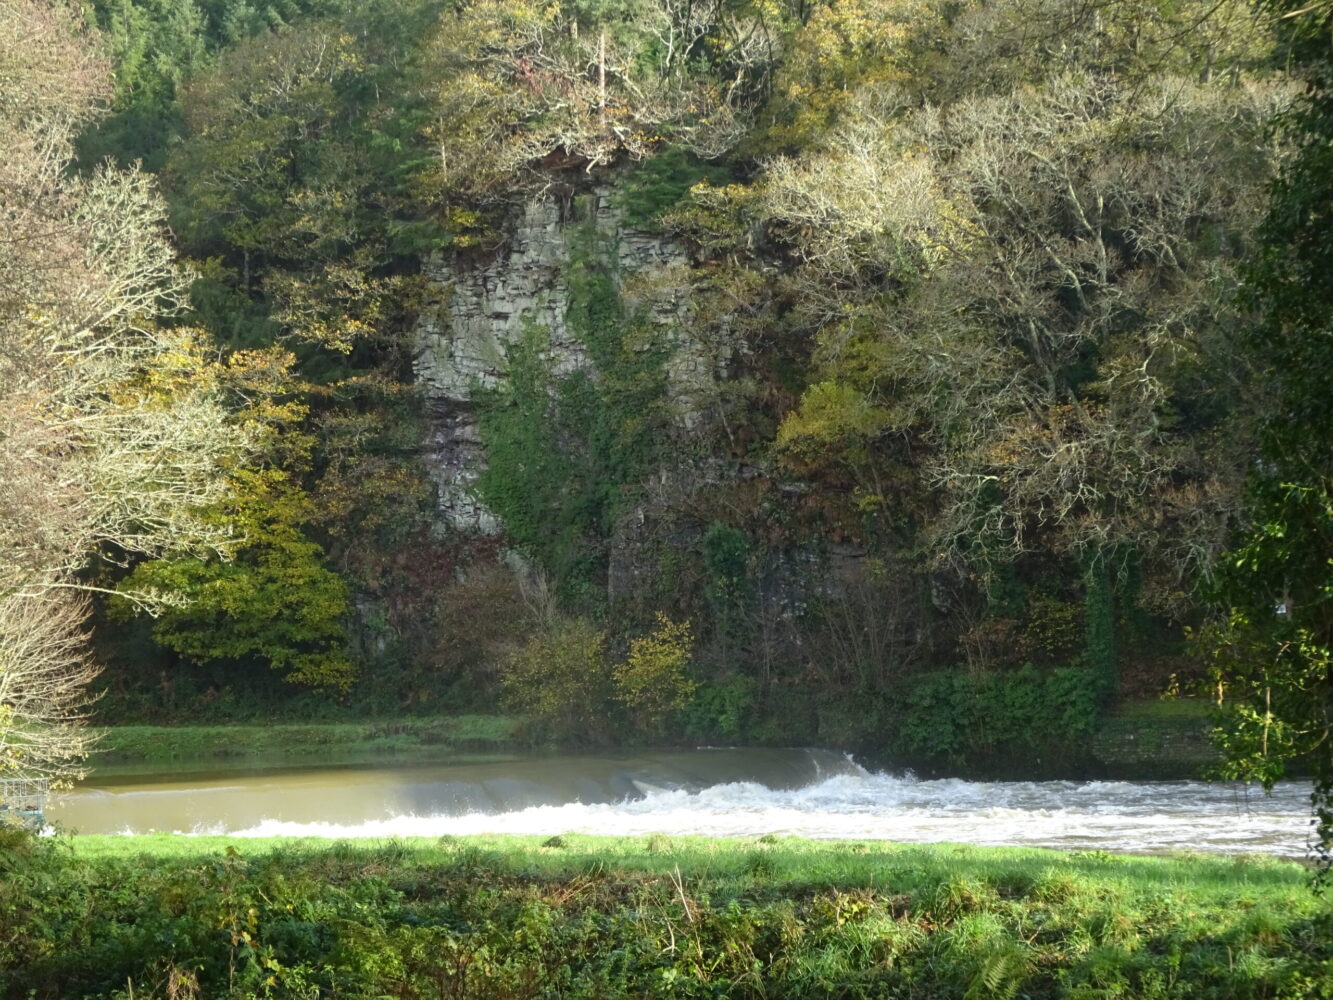
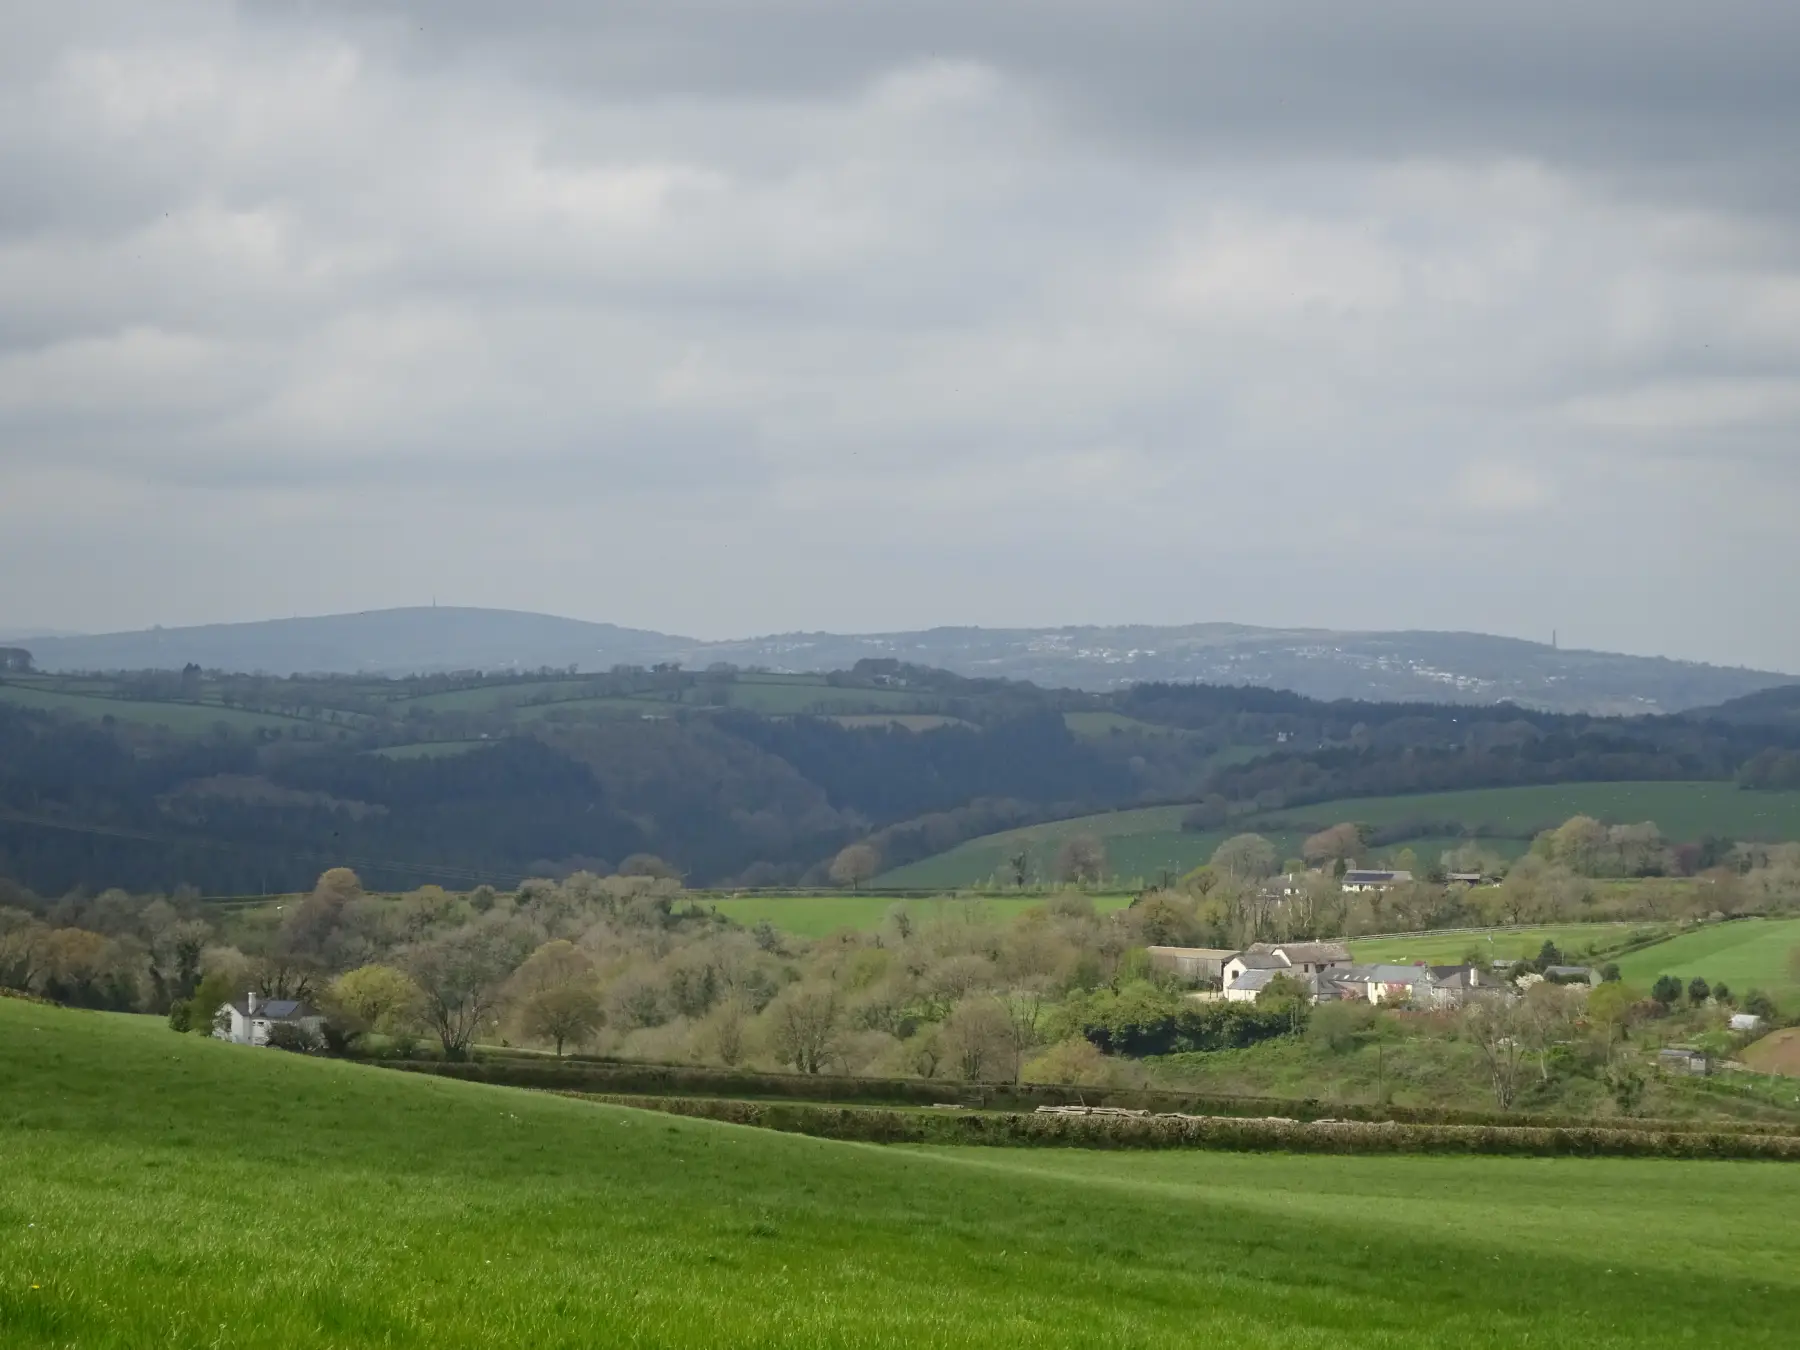
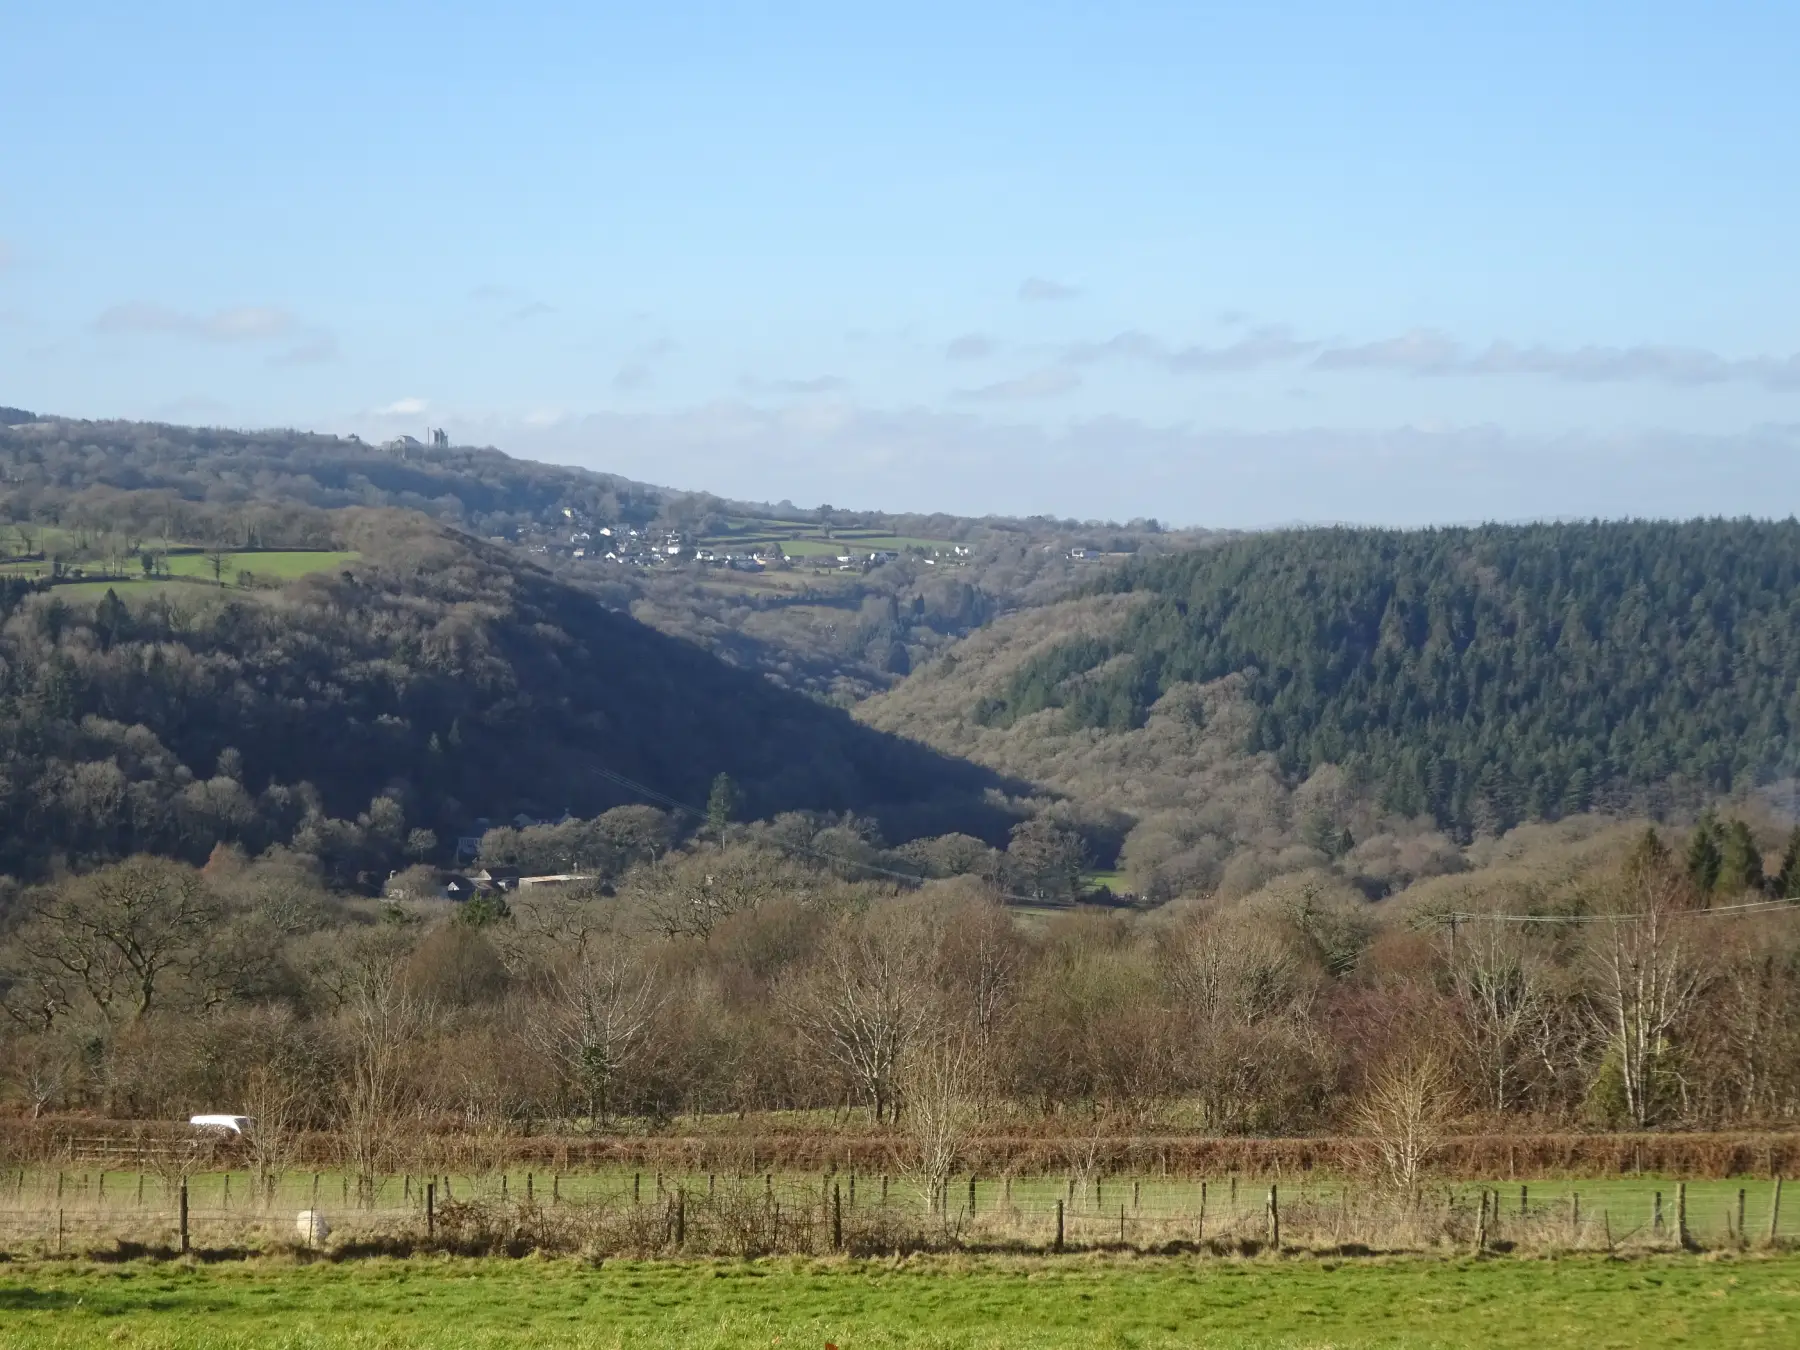
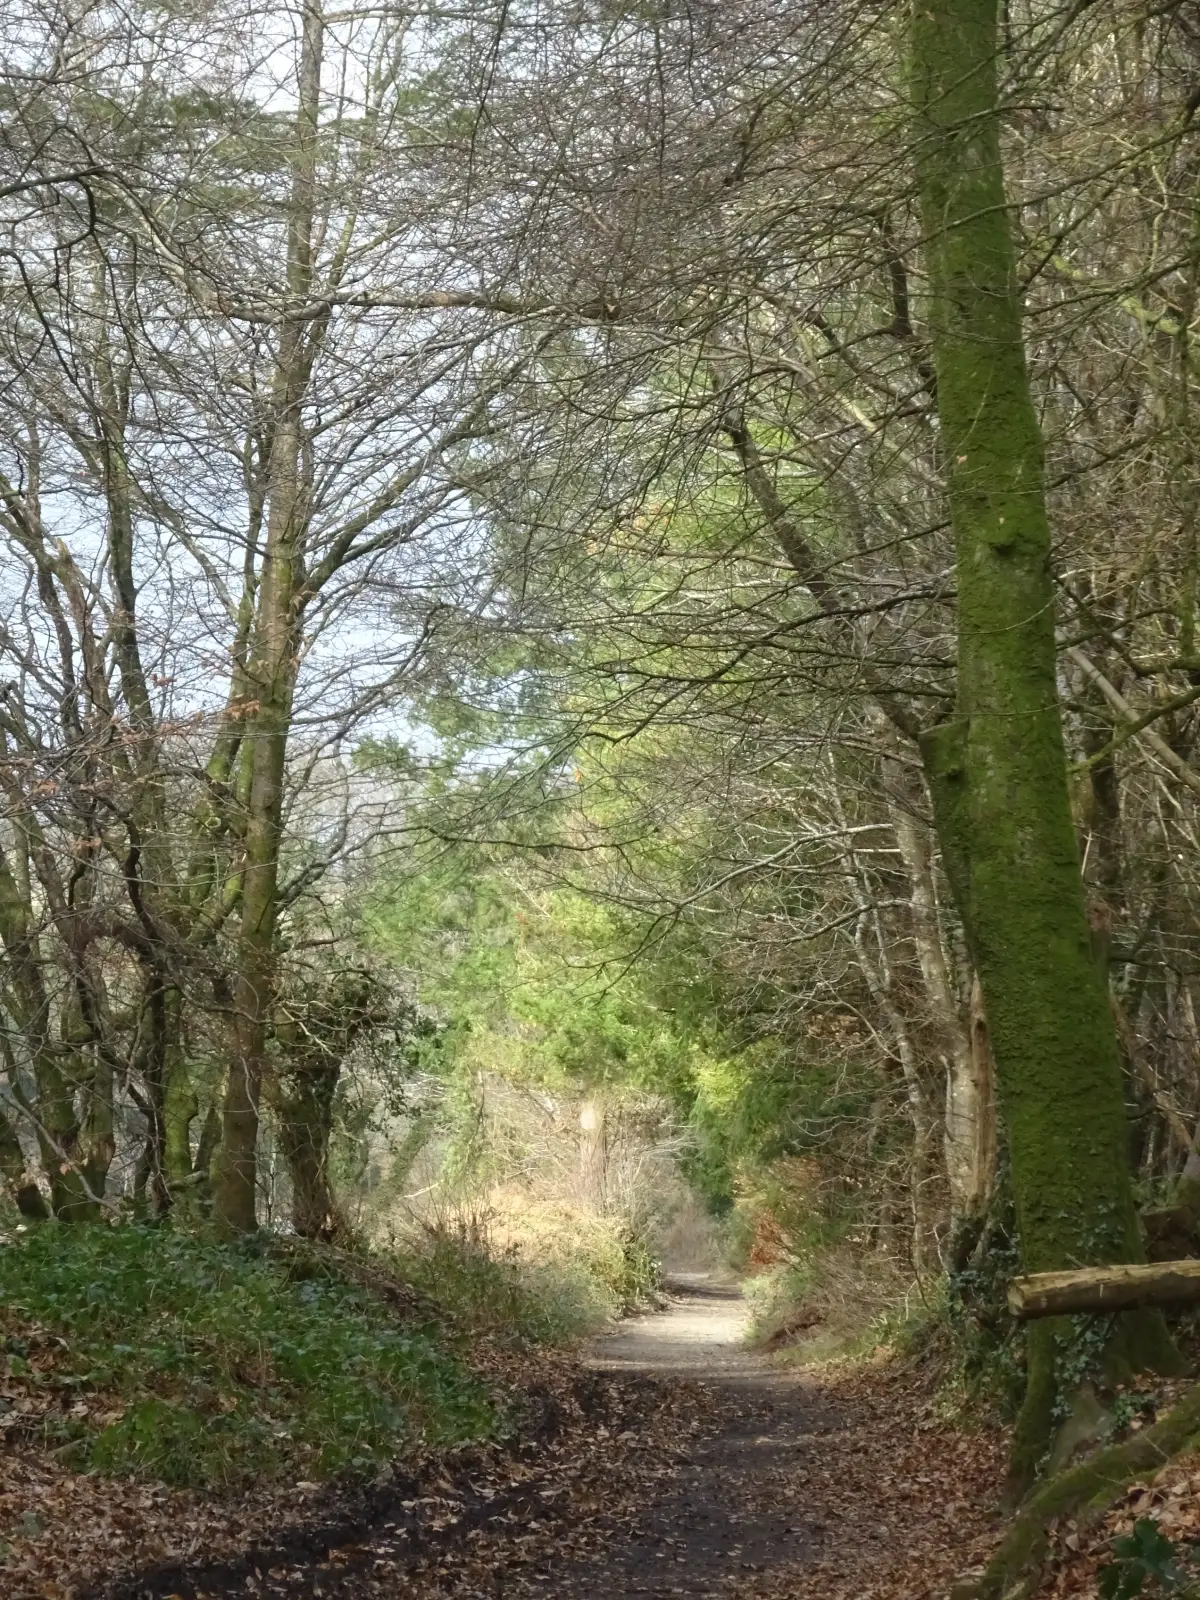
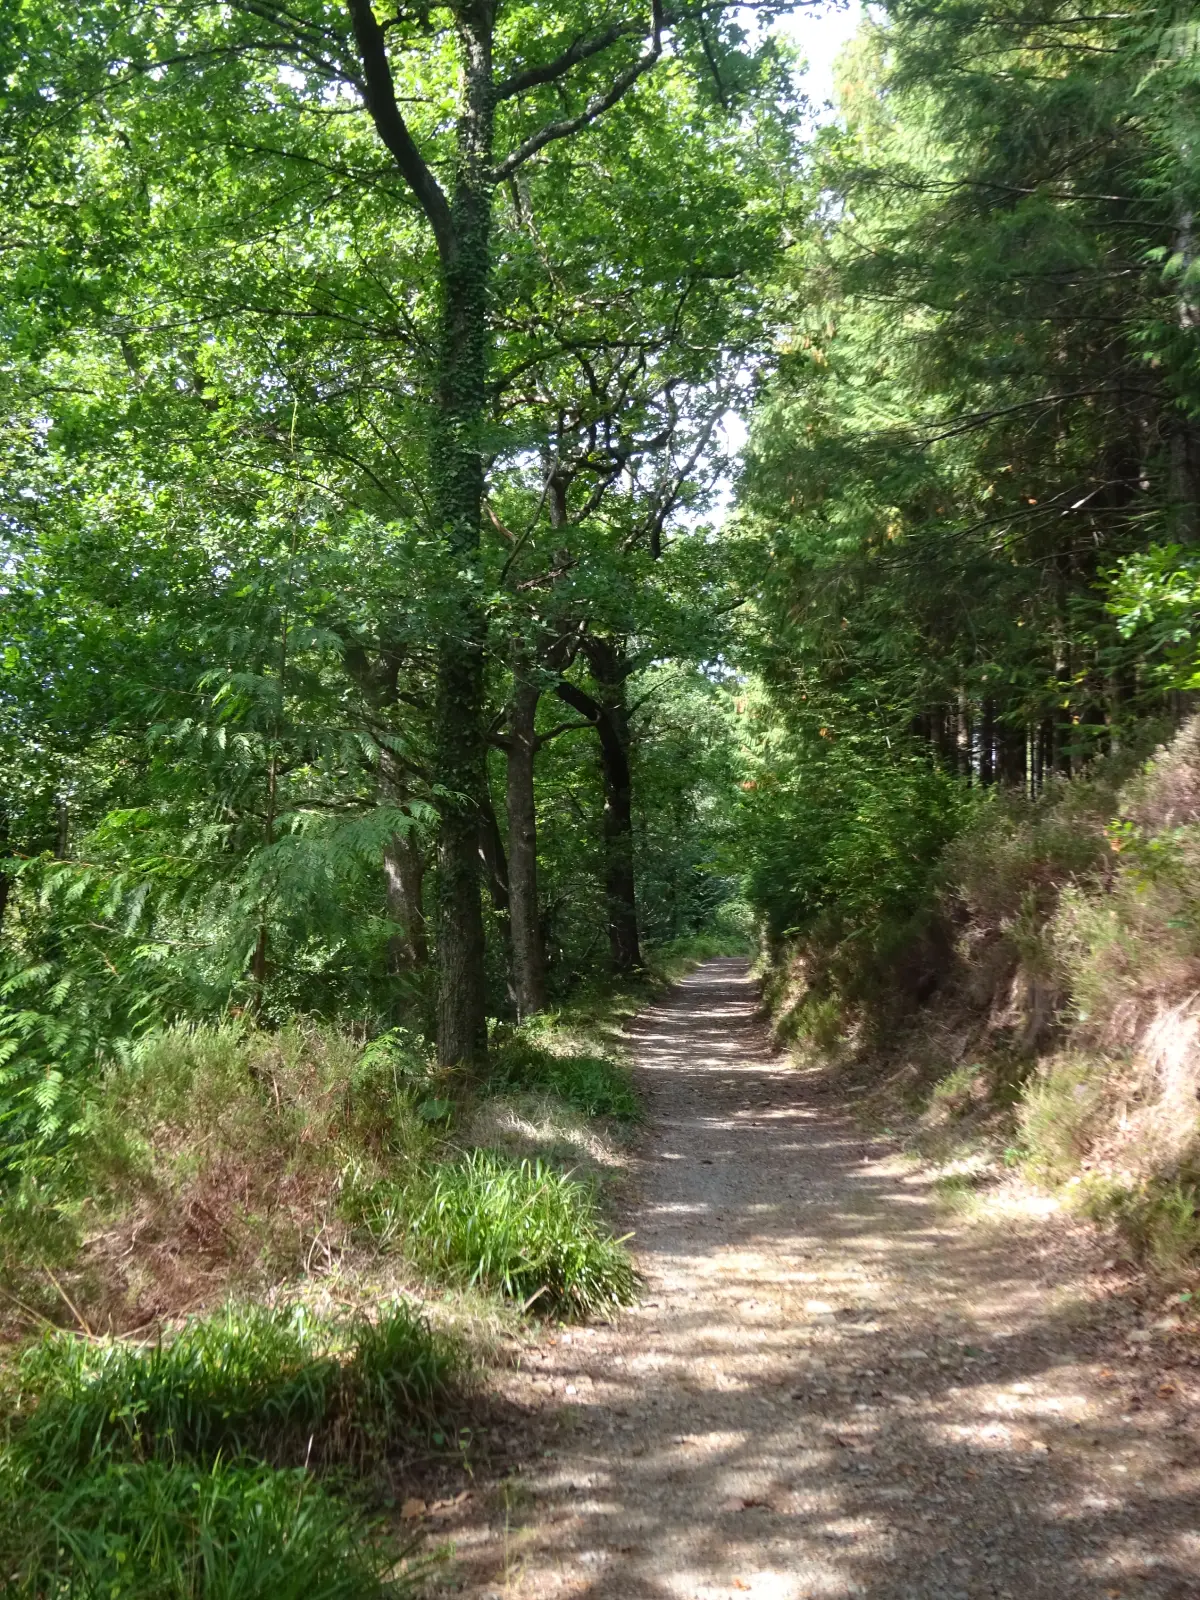
As you continue on the path, it rejoins the trackbed and gracefully curves left the lush wooded Rubbytown Valley. Interestingly, this very valley is where J.M.W. Turner created the preliminary sketches for his renowned painting, “Crossing the Brook,” when he visited the Tamar in 1813. Unfortunately, the view of the river from that era is now obscured by trees. 
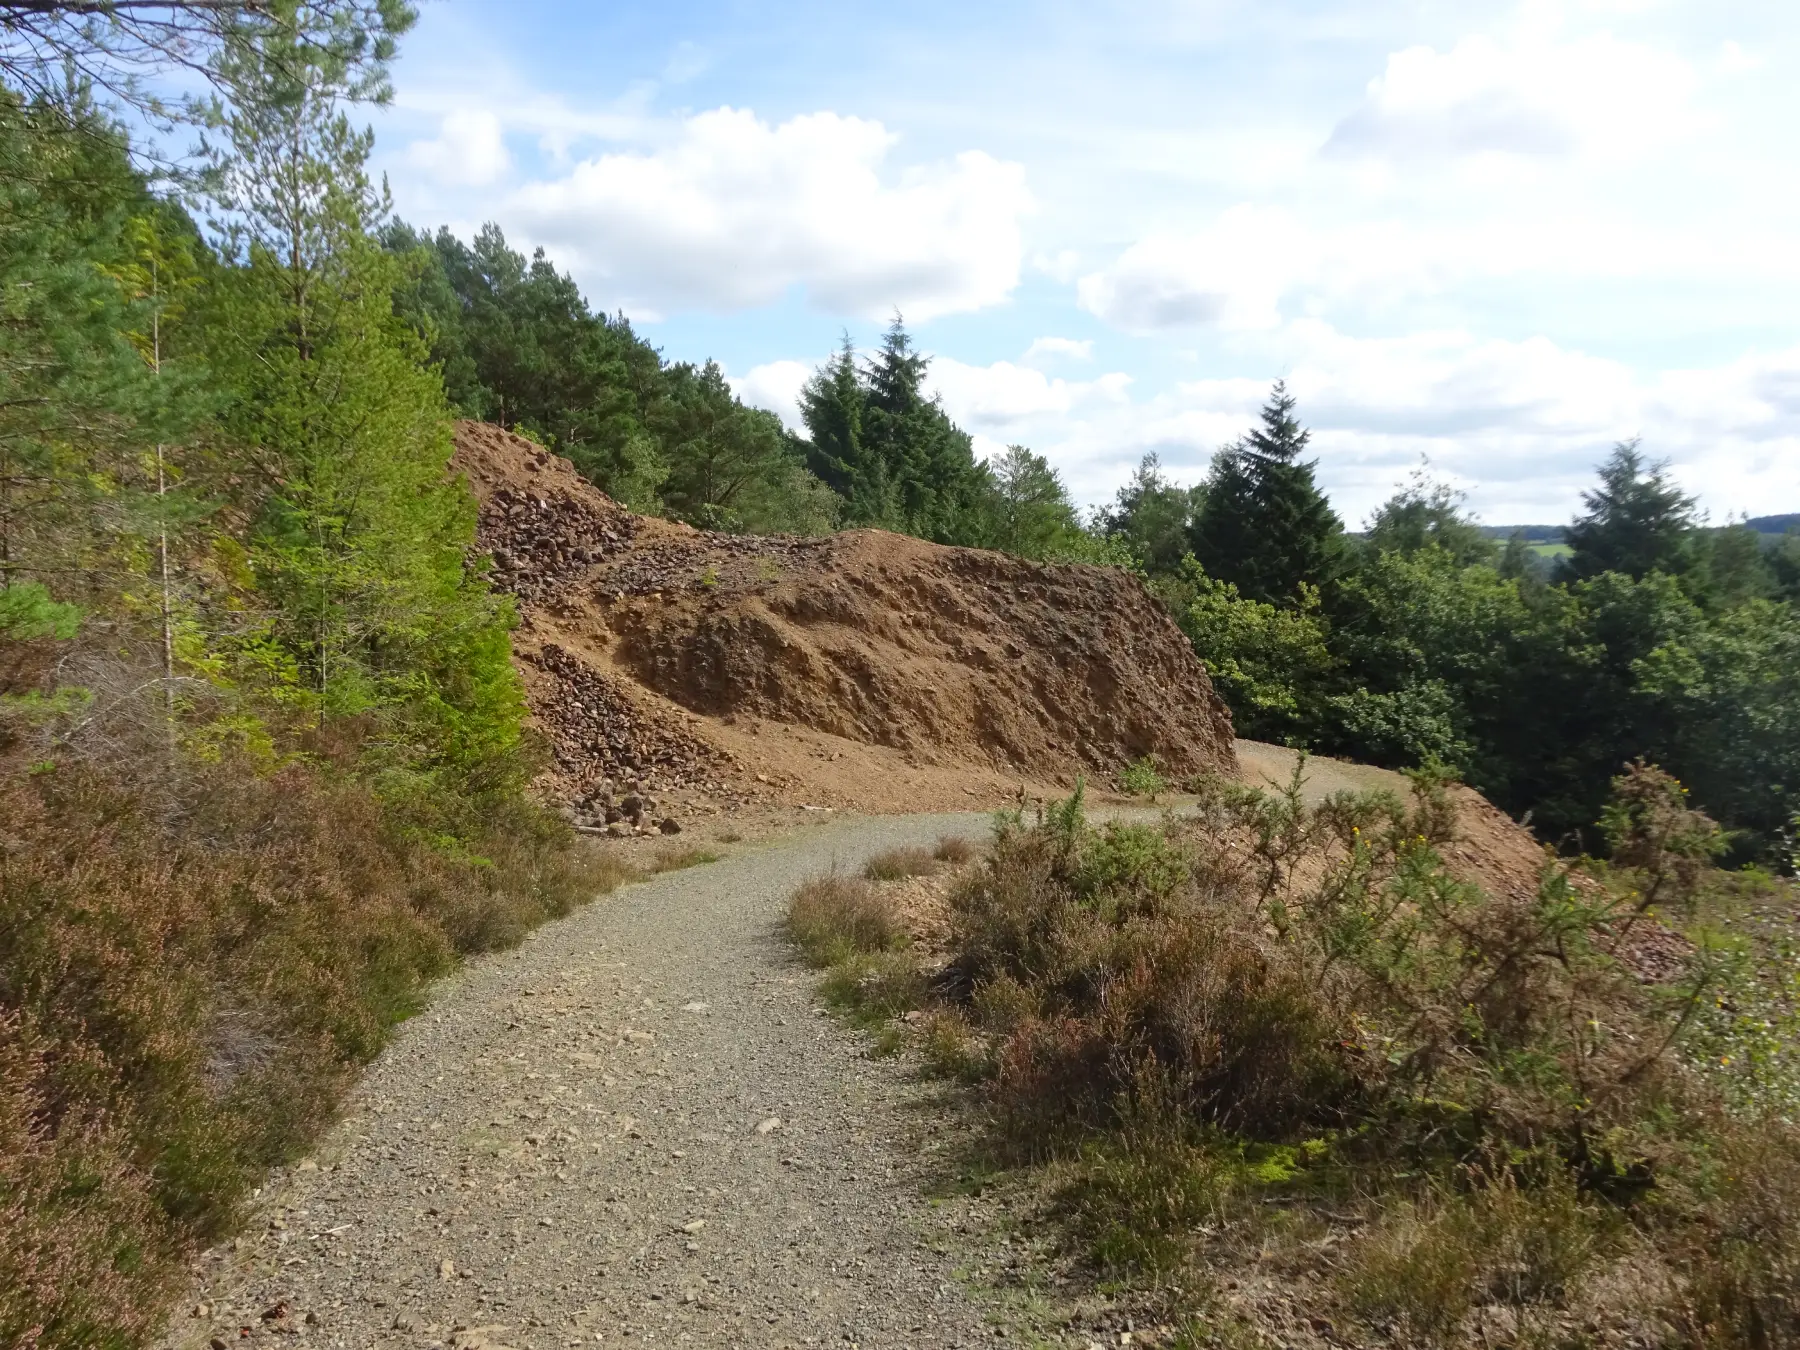
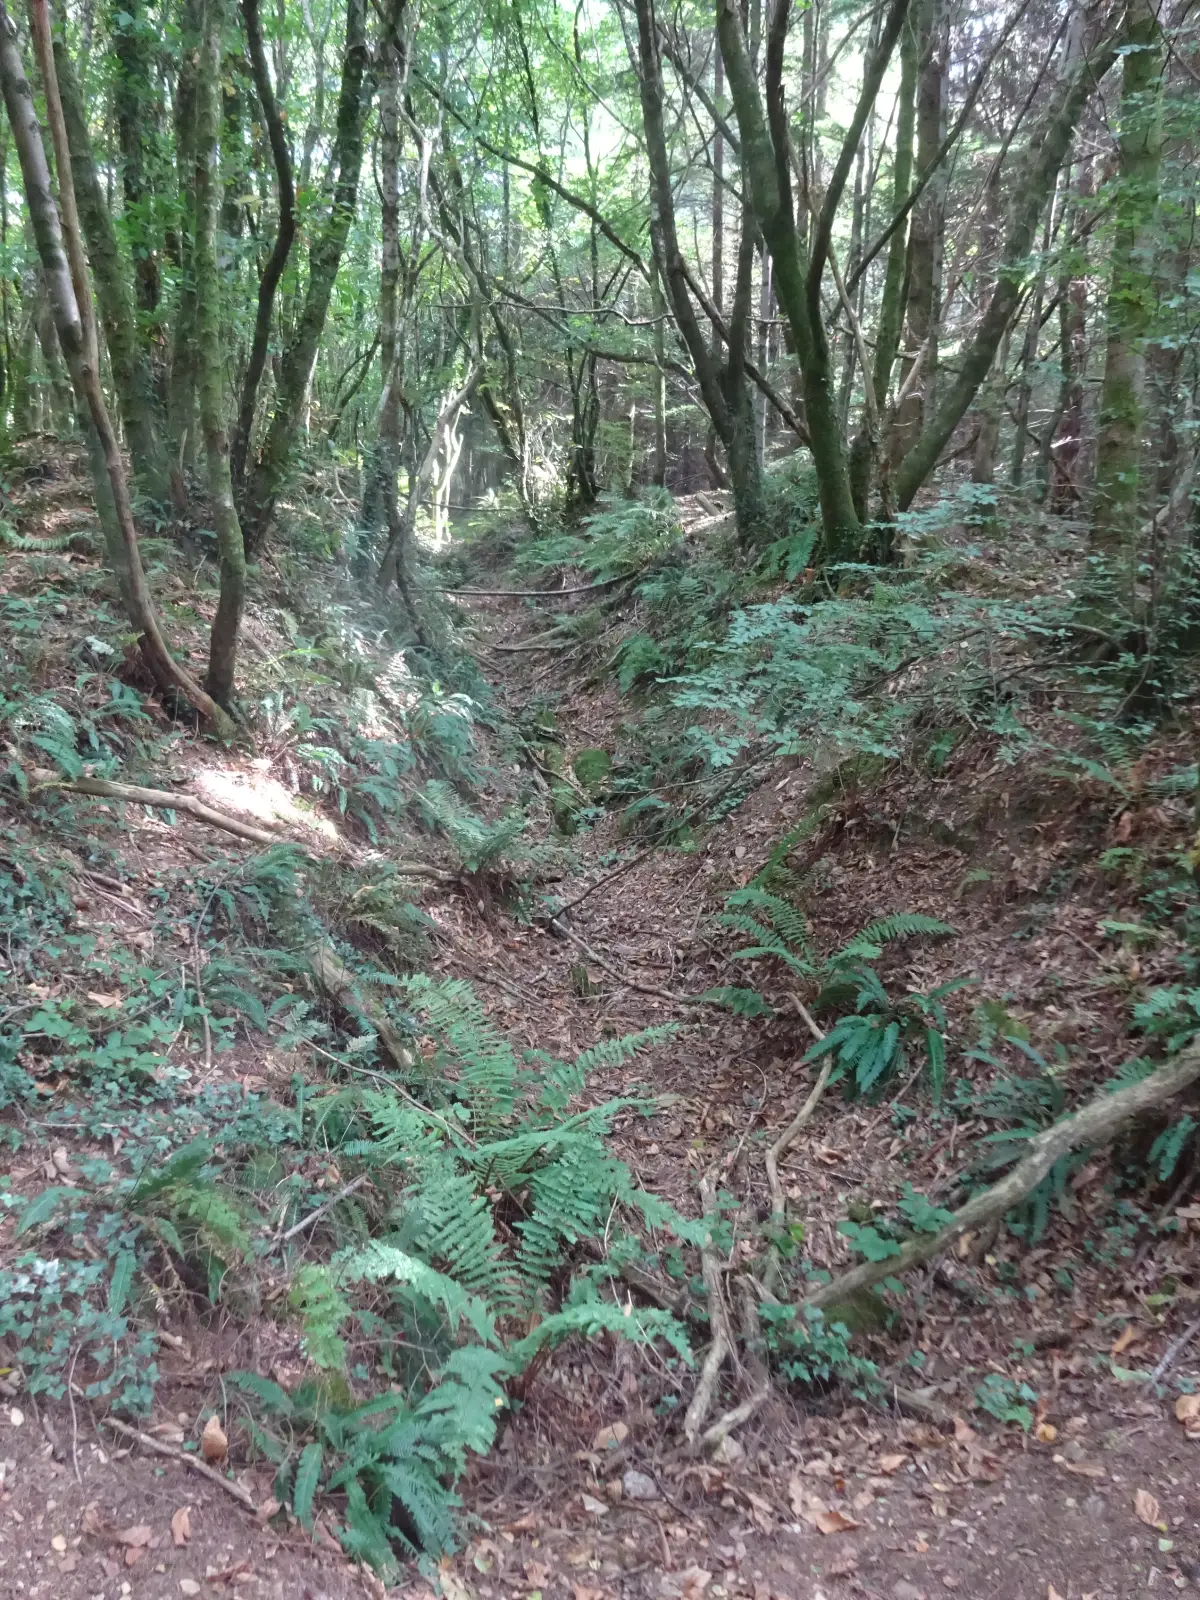
Pass through a spacious clearing, re-entering trees and soon you will encounter a fork in the path.

4 SX 434735

Keep to the right, disregarding a narrow path that veers right a few paces later. Continue through the dense canopy of trees, taking note of the steep drop on the left side while passing mounds of discarded rock on the right. As the trees begin to thin out, the striking Wheal Josiah railway bridge comes into view. This bridge, constructed during the 1860s when copper mining experienced a significant surge, was built to accommodate the excess waste rock that needed to be disposed of down the hillside. The path skirts around an immense spoil heap, eventually rejoining the original railway route. Continue onward, and before long, you will emerge into a vast expanse of orange-brown rock and sand, a lasting testament to years of arsenic production. This unique landscape is now dotted with birch trees, Scots pines, and heather. Follow the path until you reach a T-junction, by the remains of the Wheal Anna Maria arsenic works.

5 SX 426733

Turn right passing the interpretation point located in the remains of a small building. This building was once an office dating from the 1860s. Continue up the track to find a gate on the left into the Wheal Anna Maria calciner complex.

6 SX 426733

Take a left turn and make your way to the viewing platform, offering a vantage point over the 1920s arsenic complex (the earlier 1868 works were demolished in 1903). This complex served as a facility where arsenic ore was crushed, washed, and roasted. The resulting hot gases were then drawn through flues into a network of condensing chambers, where they cooled and deposited crude arsenic powder. Brave workers, with cotton wool in their ears and nostrils and handkerchiefs across their mouths, scraped off this deadly poison. The arsenic was subsequently refined into a fine white flour, reaching a purity of 99 percent. However, due to a decline in the demand and price of arsenic, primarily used as an insecticide, the mine eventually ceased operations in 1925. For the shorter walk option, retrace your steps back to Point 5, then follow the directions provided for the long walk (beginning midway through Point 9) as described below. For the longer walk option, continue forward from the viewing platform, passing through a gate and onto a wide track. Make a left turn, heading towards Blanchdown Wood.

7 SX 423725

Continue straight descending along the path, passing by the fenced “gunnis” of Wheal Frementor. This area was once a site for mining tin and tungsten. The path takes a steep descent. Unseen from here, on the side of the valley, lies the Great Leat, a remarkable watercourse measuring 14¾ feet (4.5 meters) in width. This leat carried water from the Tamar River to power the giant waterwheels near Point 10. As you follow this delightful path, you’ll be treated to an upstream journey, elevated high above the river. Some trees have been selectively cleared in order to create a suitable habitat for the rare heath fritillary butterfly. Across the river, concealed by the foliage, lies Gunnislake Clitters Mine. After a long and steady ascent, the track gradually begins to descend and eventually takes a right turn, leading away from the river. The path continues its descent. It is within this section of the site that the western end of the copper lode is located.

8 SX 419736

Reach a junction and turn right, ascending past the pools at Wheal Fanny. Work started here in 1845: the copper lode was struck just 18ft (5.5m) below the surface. Beyond the pools are the remains of cobbled dressing floors, where women and children would break the ore with long spalling hammers. Reach a fork and keep right – ahead are former miners’ cottages and captains’ houses – up a zigzag path which levels then passes under soaring beech trees to reach a track T-junction. Turn left. The track ends at a gate with a tall arsenic chimney stack, dating from 1922, ahead.

9 SX 423735

Make a right turn and proceed around a substantial gate, entering the redlands of Wheal Anna Maria. As you continue, a track will veer off to the right, but you should stay on the current path, skirting around another sizable gate. Descend past the calciners and the interpretation point until you reach Point 5. From here, continue straight ahead, merging onto the path that aligns with the short walk option. Follow the signs guiding you towards the Sawmill car park, passing by the striking red sands of the mine’s arsenic tailings. The track gently descends, eventually leading you to a junction.

10 SX 433731

Take a left turn, and soon you will cross the ochre-coloured outflow of a mine drainage adit, tinged with copper sulphate and iron oxide. This contaminated flow was managed by constructing dams and settling ponds, initially aimed at reducing sediment entering the Tamar River. From the 1860s to the 1960s, the stream was directed into wooden troughs filled with scrap iron onto which valuable copper was deposited. Continue round a gate, and a few steps later, at a junction, bear left onto a steep uphill climb. Disregard paths branching off to the right and left, and instead follow the signs leading to the Sawmill car park. As you near the top of the valley side, bear right at a fork, rejoining the initial route and making your way back to the car park.

Map

All Short Walks

Filter by Difficulty

Filter by Town

NEar by